Mazda Miata Subframe Brace Installation How-To
![]()
This is our How-To guide on installing the factory Mazda Miata rear subframe brace on earlier model cars originally not fitted with the brace. The brace was used on Miatas from 1997+. We obtained ours through Mazdaspeed Motorsports Development as a kit with the mounting plates included. If you are a good salvage yard searcher, you can most likely find one on a junk Miata from years 97+, but will have to locate mounting plates some other way.
- We found out after we installed the brace on our car that there is an alternative (maybe easier) way to install the front nut plates. Instead of cutting holes in the floorboard, you could drill a hole from underneath that is bigger than the size of the nut attached to the plate, insert the plate nut side up into the hole you drilled, and weld the perimeter of the plate to the floorboard from underneath the car. It will serve the same purpose and probably save a lot of time.
Here is our procedure:
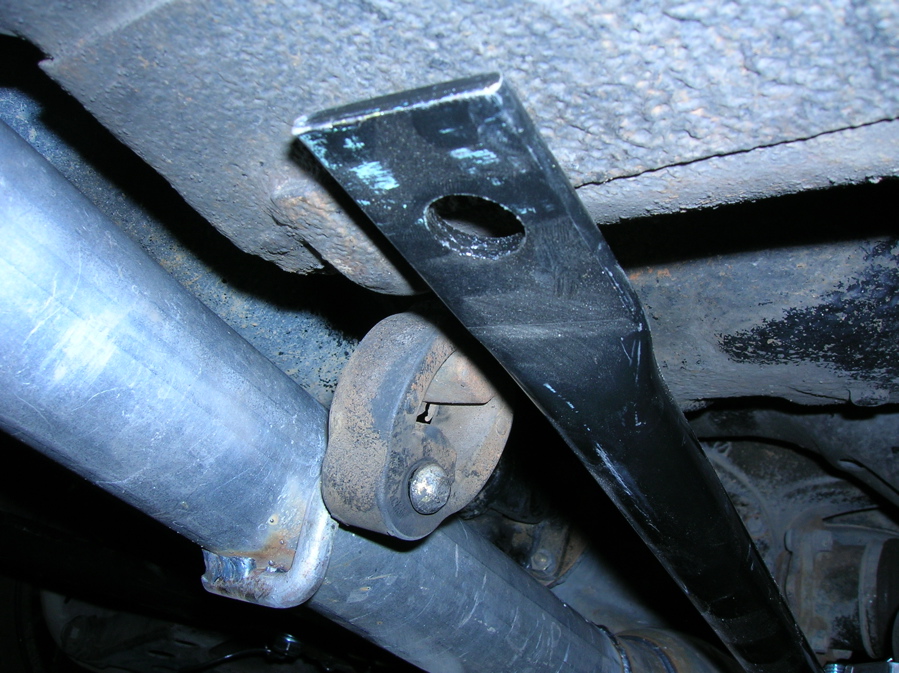
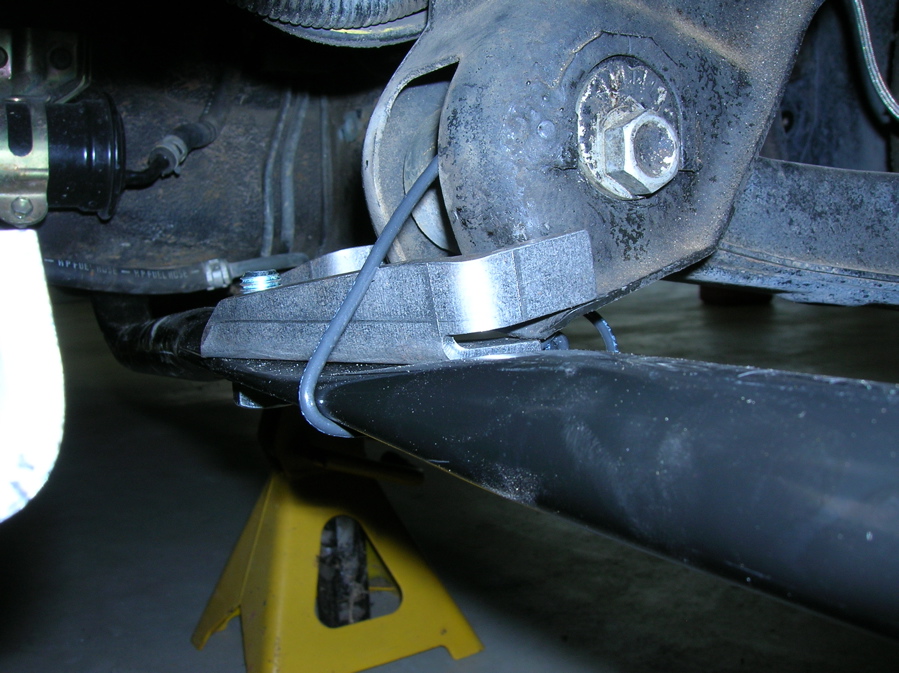
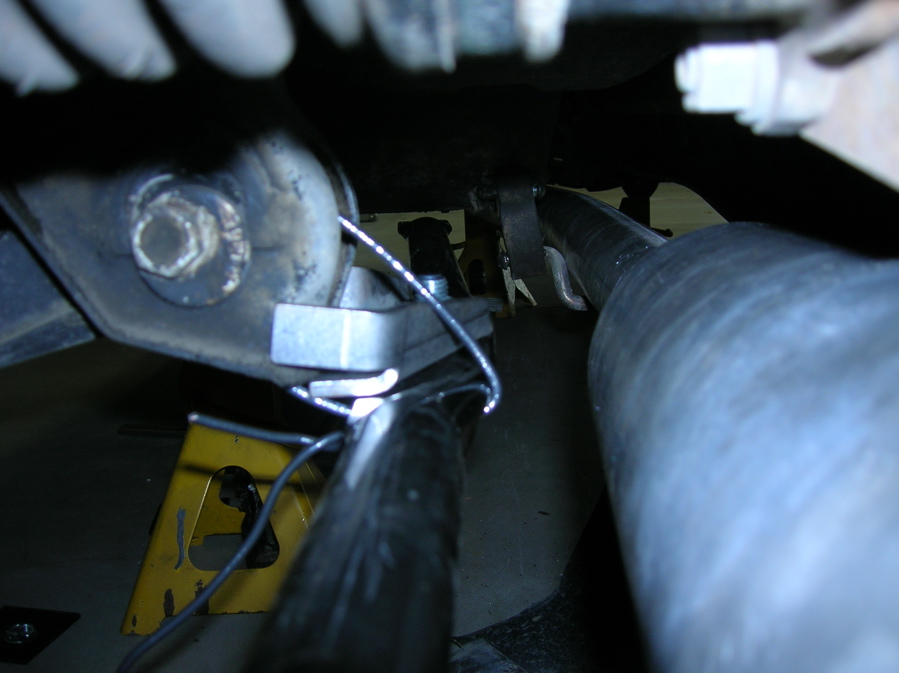
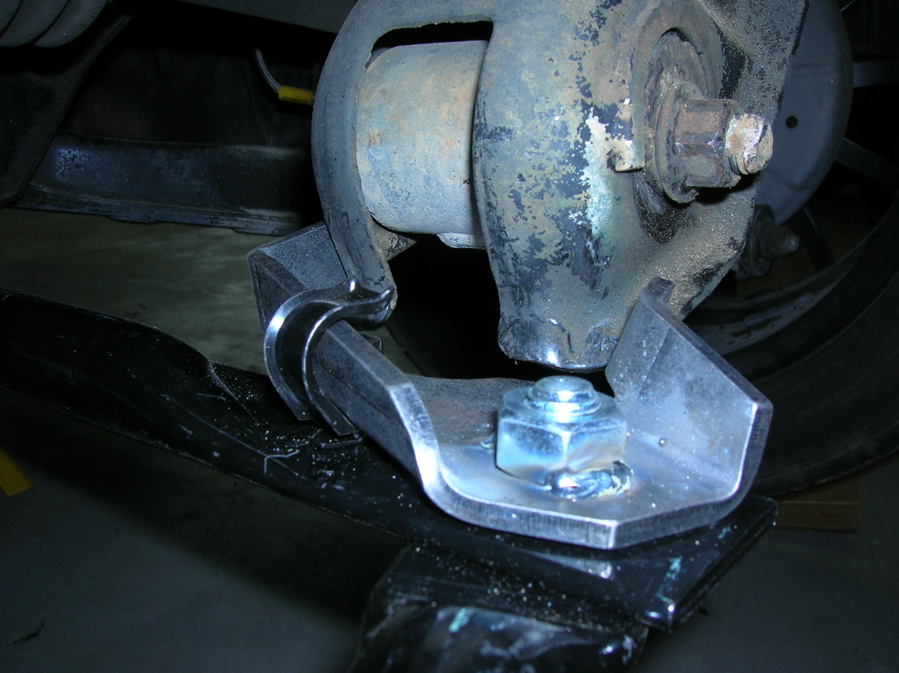
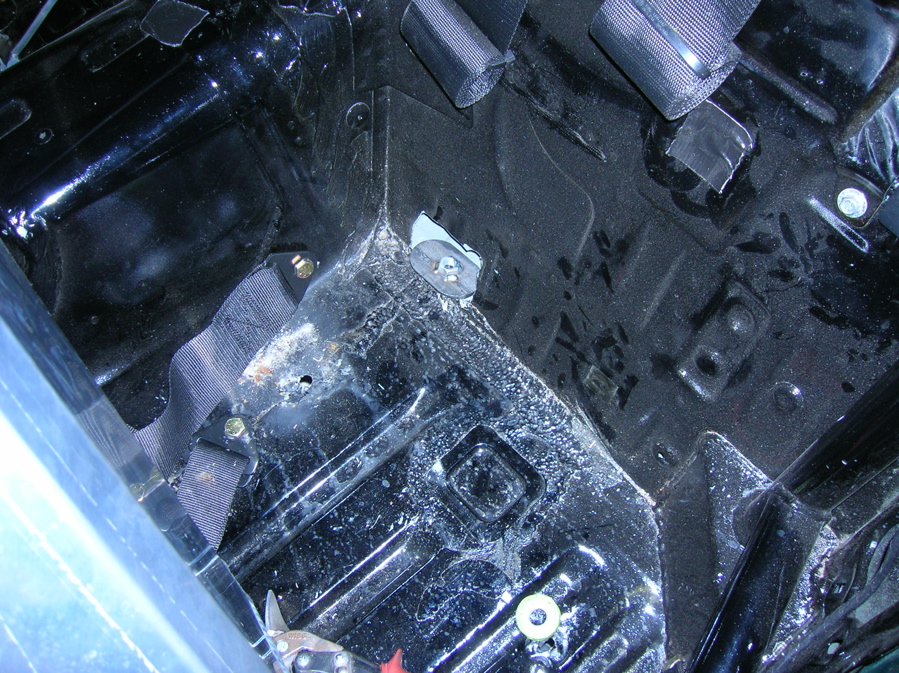
| Before we did anything, we just wanted to see where this thing went! What an odd part, it is hard to figure our where it goes without any directions. We figured it out and wedged it up there by suspending the brace from wire, then surprisingly the mounting plates fit in and held it into place. Make sure you get this thing in perfect before you drill your holes through the floorboard! Here are all six mounting locations for the brace... |
 |
 |
||
 |
 |
 |
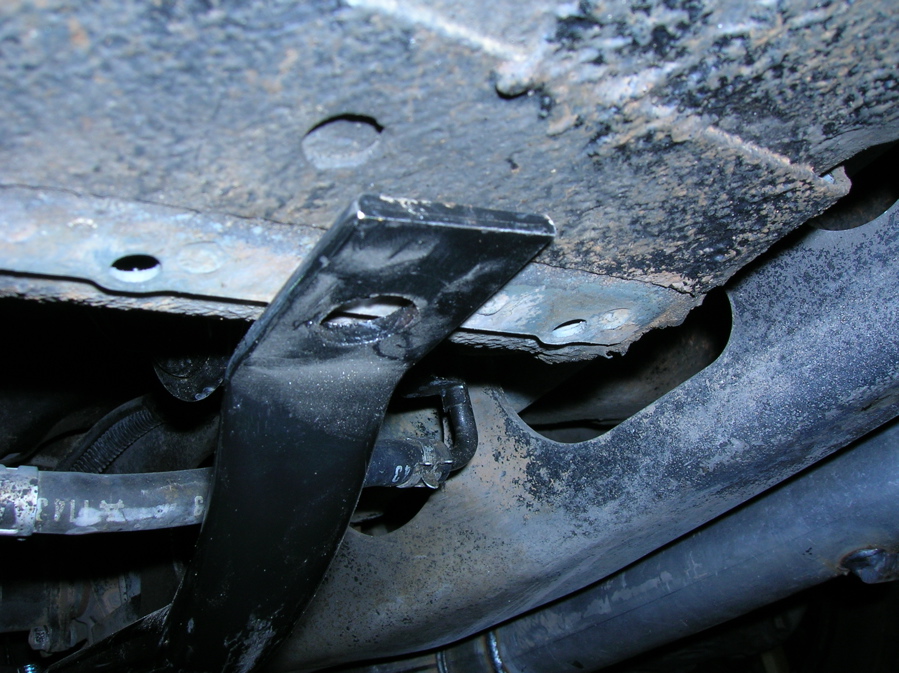
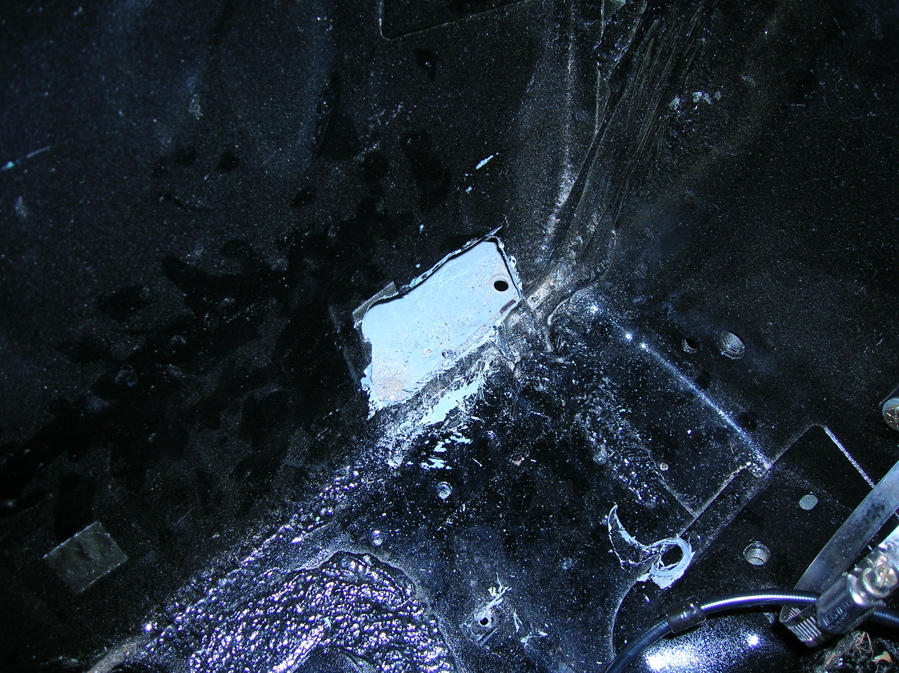
| Thats the easy part! So we drilled our holes for the front tabs and... wait a minute! Where are the holes we drilled? There is a double rear firewall on these cars, and why Mazda chose to locate the holes for the tabs IN BETWEEN the two walls is beyond me. The best guess we have is because the added strength of both the curve of the rear wall and the structure or the front wall. I guess... But anyways you have to shear a hole in the front firewall to get access to your missing drilled holes. Be sure to make the openings big enough that you can fit the welded nut tabs into them. We just made cover plates to weld on over them after we were done anyways. Here we show you the cut-outs we made... |
| After you get your holes drilled, remove the brace and clean the spots to be welded REALLY good. The paint the factory uses on the rear control arm mounts is tough, be sure to scratch it up all the way to the metal. We had to use a die grinder (same thing you port heads with) to gain access and scratch it thoughly enough! And it still wasn't clean enough! You will have a hard time welding if it is not sufficiently clean. The same goes for the nut tabs in front, make sure they're flush with the floor and super clean. This will take some grinding of the seam sealer, a stiff wire wheel works good for this task and a follow up with a grinder to get to the bare metal. Now the fun part, welding it! Thread in your nut tabs to locate the brace, and wedge the control arm tabs into place. They might not look like they're going to make it but they will. There will be a lot of filling in gaps when you weld the back and mid control arm tabs, hope you're a good welder! After you spend a couple of hours cursing and straining your back and neck, and filling in giant gaps, it should be in there solid. Don't forget to tack in the nut tabs! Tighten your bolts to the brace and your install is complete. |
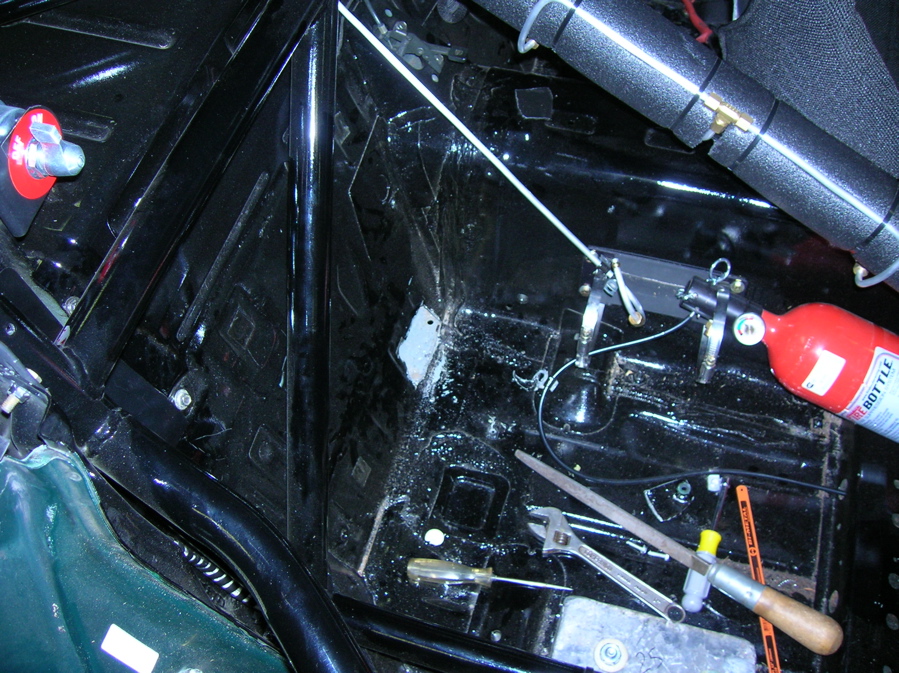
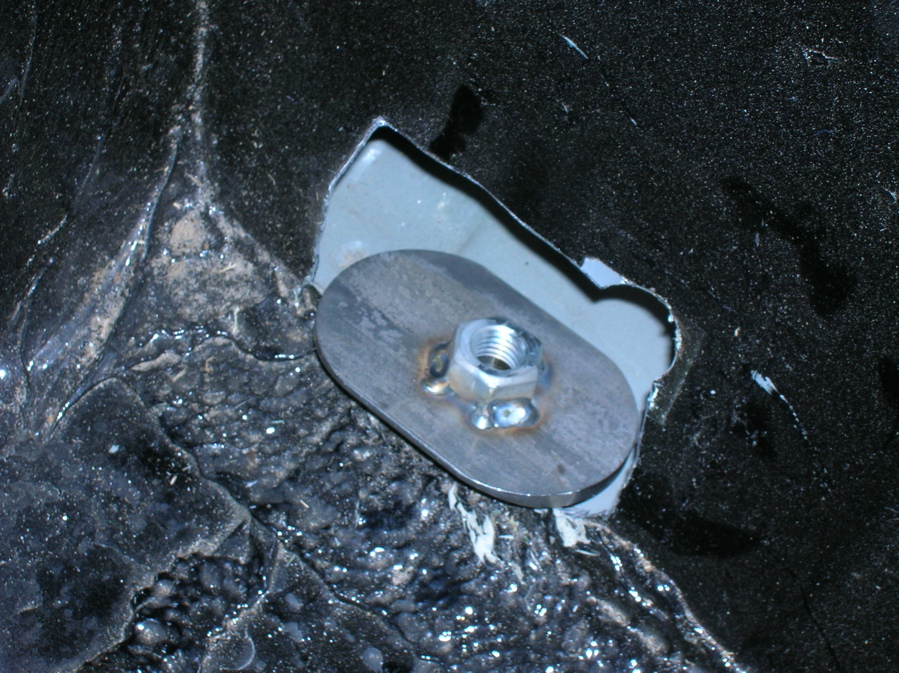
- Some extra things you might want to think about doing is painting the welds after you're done, and fabricating a cover plate for the huge openings you had to make for the nut tabs. Just use a thin piece of steel and cut it slightly larger than the opening. Weld or rivet into place and it will be a little neater than a big hole in your floorboard. In the future I will get some pics of our plates to put on here. Another thing you're going to have to work out is the exhaust routing. We homemade our exhaust so we had to relocate the muffler, bend and tweak it to make fit. We relocated the muffler to the left of the diff (looking at it from the back), bent it up a bit, and routed the turndown over the brace. This way conforms to the whole "ending after the rear subframe rule", just make your turndown longer if need be. The exhaust is a custom thing though, you need to fit it to your specifications and needs.
Contact Us if you need any help or have any questions. Thanks for checking out 5x Racing!