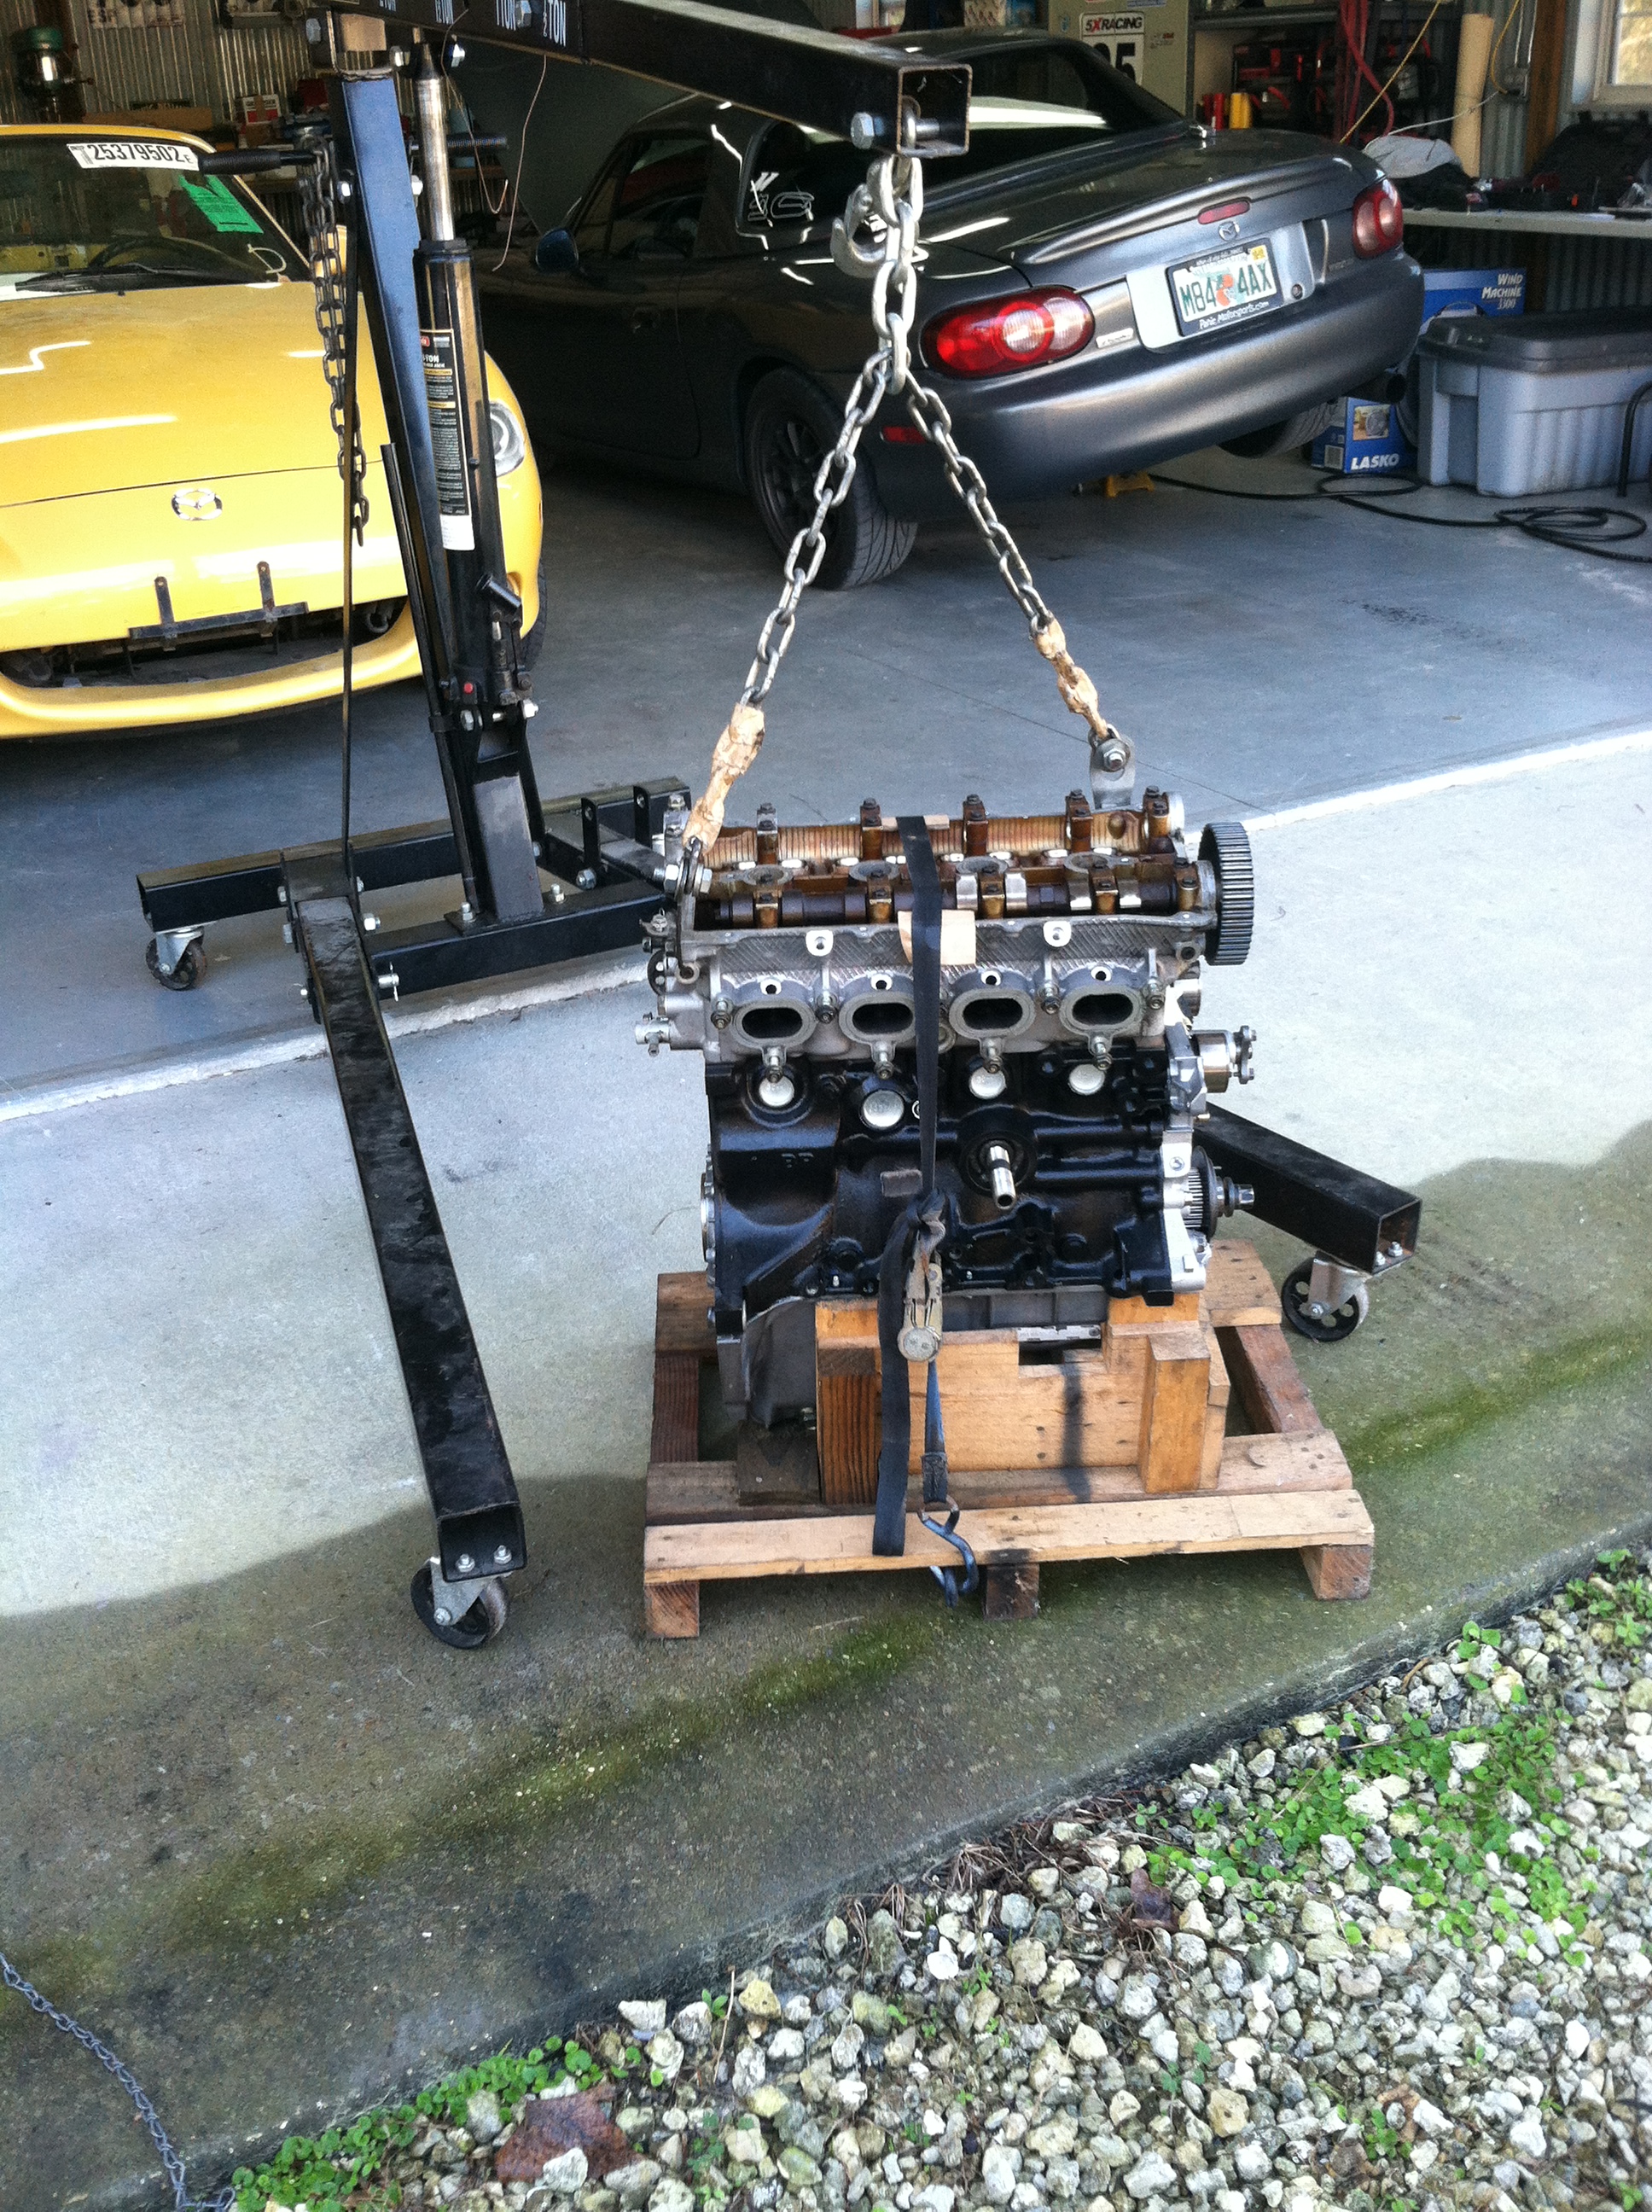
Project Miata Streetfighter: Vol 2 "the foundation" (block and low end)
*Addendum: This article has been renamed "volume 2" as we've written an article that pre dates this. Please see the first edition in this series: Project Miata Streetfighter: Vol 1 "the concept" for the concept behind this engine build and why we chose the route we did.*
We've been planning to build and document the process of an engine build here for a while, and since our Spec Miata engines are built by Laz at Mesa Balancing (which would be hard for us to document), the first culprit was going to be the leaky 170K+ mile stock engine in John's 1999 Mazda Miata daily driver.
We procrastinated on rebuilding an engine for this car for so long due to other projects, racing, and of course funding. We just kept band-aiding the problems that arose with the engine to keep it going until we could build the engine we wanted for it, most of which were oil leaks that were just plain annoying, but not critical. Well... that was fine until a few weeks ago when the car started consuming about a quart of oil a day and losing oil pressure on the morning commute because it was so low. How does a car lose that much oil in such a short amount of time with the oil pan drain plug in? Originally we thought it was the cheap OEM aftermarket replacement valve cover gasket we had on there, it never seemed "thick" enough (Here's a hint: never buy a valve cover gasket from Moss Motors! They're not actually "OEM" parts) and it always seemed to weep oil around the back (yes, we of course siliconed the corners by the cam rises), so we replaced it with a much nicer (and thicker) OEM Mazda valve cover gasket. We replaced the front main seal twice (again, don't buy seals from Moss Motors), the second time with a quality OEM Mazda seal in a previous band-aid repair. We also replaced the cam seals when we did the front main, and of course the always leaky rear main seal was already replaced when we put in the lighweight flywheel and clutch. After replacing the valve cover gasket, we started the car to check operation only to find about a 4" diameter pool of oil on the shop floor when we backed it out. So where else can the oil be leaking from? The only thing we could think of was the head gasket, as there seemed to be another pool next to the oil, but this was water. Damn, looks like we might as well build that new engine if we have to go as far as replacing a head gasket!
So what's our plan? More "Horse Powers" as Clarkson would say! How are we going to do this? Easy, ship a used 1.8 lower end and a used 99 head we got from Esteban at Redline Autosports to Laz at Mesa Balancing to do the machine work and assembly for us! Of course we're gonna be upgrading some parts to get those "horse powers", so here's our planned parts and course of action:
- Have Mesa Balancing bore the block 0.020 over to make way for a set of 83.50mm (.50mm oversize from the OEM bore size of 83mm) Wiseco Sport Compact Pistons we now sell on the site. We chose to go with .020 over instead of .40 over for the purpose of another overbore in the future to extend the service life of the block in case of a failure or future oversize. (UPDATE* Turns out that the 83.50mm pistons were backordered from Wiseco, so we talked Laz into going with the bigger .040 oversized Wisecos! Screw the block if something happens, we'll call Esteban at Redline and get another one! )
- Align hone the main bearing housings and check the crank for wear, grinding it true if tolerances are not met
- Balance rotating assembly
- Deck the block and use the Wiseco pistons to achieve a compression ratio anywhere from 10.5:1 to 11:1
- Install Manley H-Beam connecting rods to handle the increased compression ratio, and to prepare for a future supercharger if we can. There's no harm except an extra expense in upgrading the rods, especially if you're thinking of forced induction in the future. The stock rods should be "ok" for the amount of horsepower we are going to be making, but it's the feeling of confidence in handling anything we want to throw at it, and the ability to NOT have to rebuild the lower end and add stronger rods in the future if we supercharge it. We're thinking of it as being "pro active"
- Upgrade the main and connecting rod bearings to ACL Race Series bearings
- We will use only Mazda OEM seals for this build (of course, considering the above problems)
- The oil and water pump are to remain stock, we don't feel there are any gains in this area (not to mention a lack of aftermarket parts for either of these items)
- Blueprint and reassemble the lower end and move onto the head

